As a supplier of Sealed Barrels, I understand the importance of a proper seal installation on a barrel. A well - installed seal ensures the contents are protected from external elements such as dust, moisture, and contaminants, and also prevents leakage. In this blog, I will guide you through the process of installing a seal on a barrel, step by step.
Understanding the Types of Sealed Barrels
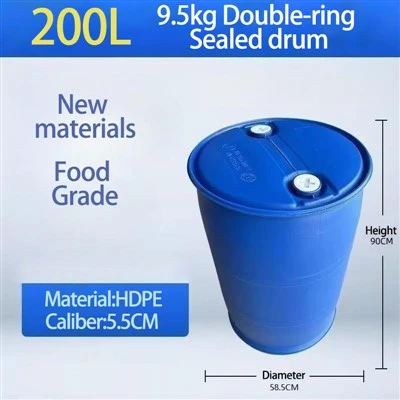
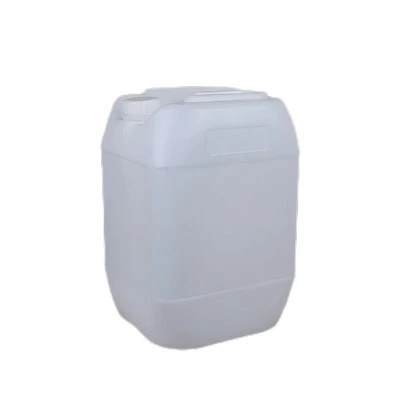
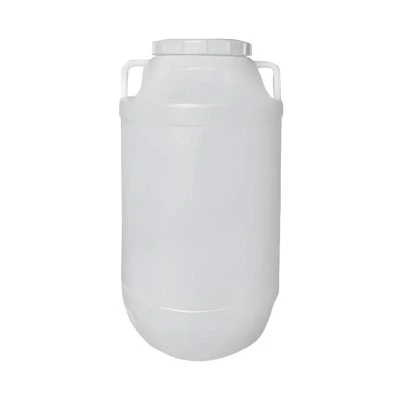
Before diving into the installation process, it's important to know the different types of sealed barrels available. We offer a variety of options, including Tight Head Plastic Drums and Double - ring Sealed Drum. Each type may have slightly different seal installation requirements, but the general principles remain the same. Our Sealed Barrel products are designed to meet high - quality standards and are suitable for a wide range of applications, from storing chemicals to food products.
Tools Required for Seal Installation
To install a seal on a barrel, you will need the following tools:
- A clean cloth: This is used to clean the barrel rim and the seal before installation. Any dirt or debris on the contact surfaces can prevent a proper seal.
- A rubber mallet or a soft - faced hammer: This tool is used to gently tap the seal into place without damaging it. A hard - faced hammer may crack or deform the seal.
- A seal lubricant (optional): In some cases, a seal lubricant can make the installation process easier and help create a better seal. Make sure to use a lubricant that is compatible with the seal material and the contents of the barrel.
Step 1: Prepare the Barrel
The first step in installing a seal on a barrel is to prepare the barrel itself. Start by cleaning the rim of the barrel thoroughly. Use a clean cloth to wipe away any dirt, dust, or residue. Pay special attention to the groove where the seal will be placed. Any foreign particles in the groove can cause leaks.
If the barrel has been previously used and there is stubborn residue, you may need to use a mild detergent and water. Rinse the rim well and dry it completely before proceeding.
Step 2: Inspect the Seal
Before installing the seal, carefully inspect it for any damages such as cuts, tears, or deformities. A damaged seal will not provide an effective barrier, so it's important to replace it if necessary. Check the size of the seal to ensure it is the correct fit for your barrel. The seal should match the diameter and shape of the barrel rim.
Step 3: Lubricate the Seal (Optional)
If you choose to use a seal lubricant, apply a thin, even layer to the outer edge of the seal. Be careful not to over - lubricate, as this can cause the seal to slip out of place during installation. The lubricant helps the seal slide into the groove more easily and can also improve the sealing performance.
Step 4: Place the Seal on the Barrel
Carefully align the seal with the groove on the barrel rim. Start at one point and gradually work the seal around the entire rim, making sure it seats evenly in the groove. It may take some patience and gentle pressure to get the seal fully in place.
Step 5: Tap the Seal into Place
Once the seal is mostly in the groove, use a rubber mallet or a soft - faced hammer to gently tap the seal around the rim. This helps to ensure that the seal is fully seated and creates a tight fit. Start at one end and work your way around in a circular motion, applying gentle and consistent taps.


Be careful not to tap too hard, as this can damage the seal or the barrel. If you notice any areas where the seal is not seated properly, stop and adjust before continuing.
Step 6: Check the Seal
After tapping the seal into place, visually inspect it to make sure it is evenly seated around the entire rim. There should be no gaps or areas where the seal is loose. To double - check the seal's performance, you can perform a simple leak test. If the barrel is for non - hazardous materials, you can fill it with a small amount of water and let it sit for a while to see if there are any leaks.
Troubleshooting
If you encounter problems during the seal installation process, here are some common issues and solutions:
- Seal won't fit into the groove: This could be due to an incorrect seal size or a dirty groove. Double - check the seal size and clean the groove again. If the groove is damaged, you may need to repair or replace the barrel.
- Seal is damaged during installation: If the seal gets cut or torn, replace it with a new one. Make sure to handle the seal carefully during installation and use the proper tools.
- Leak after installation: If you notice a leak, check the seal for any gaps or areas where it is not properly seated. You may need to remove the seal, clean the rim and the seal again, and reinstall it.
Conclusion
Installing a seal on a barrel is a relatively straightforward process, but it requires attention to detail to ensure a proper seal. By following the steps outlined in this blog, you can install a seal on your barrel correctly and protect your contents from damage.
If you are in the market for high - quality sealed barrels, we are here to help. Our Sealed Barrel products are designed to meet your specific needs. Whether you need Tight Head Plastic Drums for industrial chemicals or Double - ring Sealed Drum for food storage, we have the right solution for you. Contact us today to start a procurement discussion and find the best sealed barrels for your applications.
References
- Manufacturing guidelines from drum and seal manufacturers
- Industry best practices for barrel sealing and storage